Animatronics

One of my favourite animatronic examples is from John Nolan Last year, it was possible to see photos of John Nolan’s machine that operated the mouse in this video but it appears to no longer be available on his site. I show this video to students a lot to get their attention, to inspire them and to show them examples of different types of jobs (I think doing animatronics for a living would be pretty cool).

John Cox’s How To Make A Monster exhibit

Today I took my son (12) to do an animatronics workshop at The How To Make a Monster exhibition at the Arts Centre Gold Coast.  During part of the workshop we got to see some of John Cox’s exhibit, which was really awesome. It was fun to see real examples of animatronics that we all enjoy watching in movies like Babe and Peter Pan.

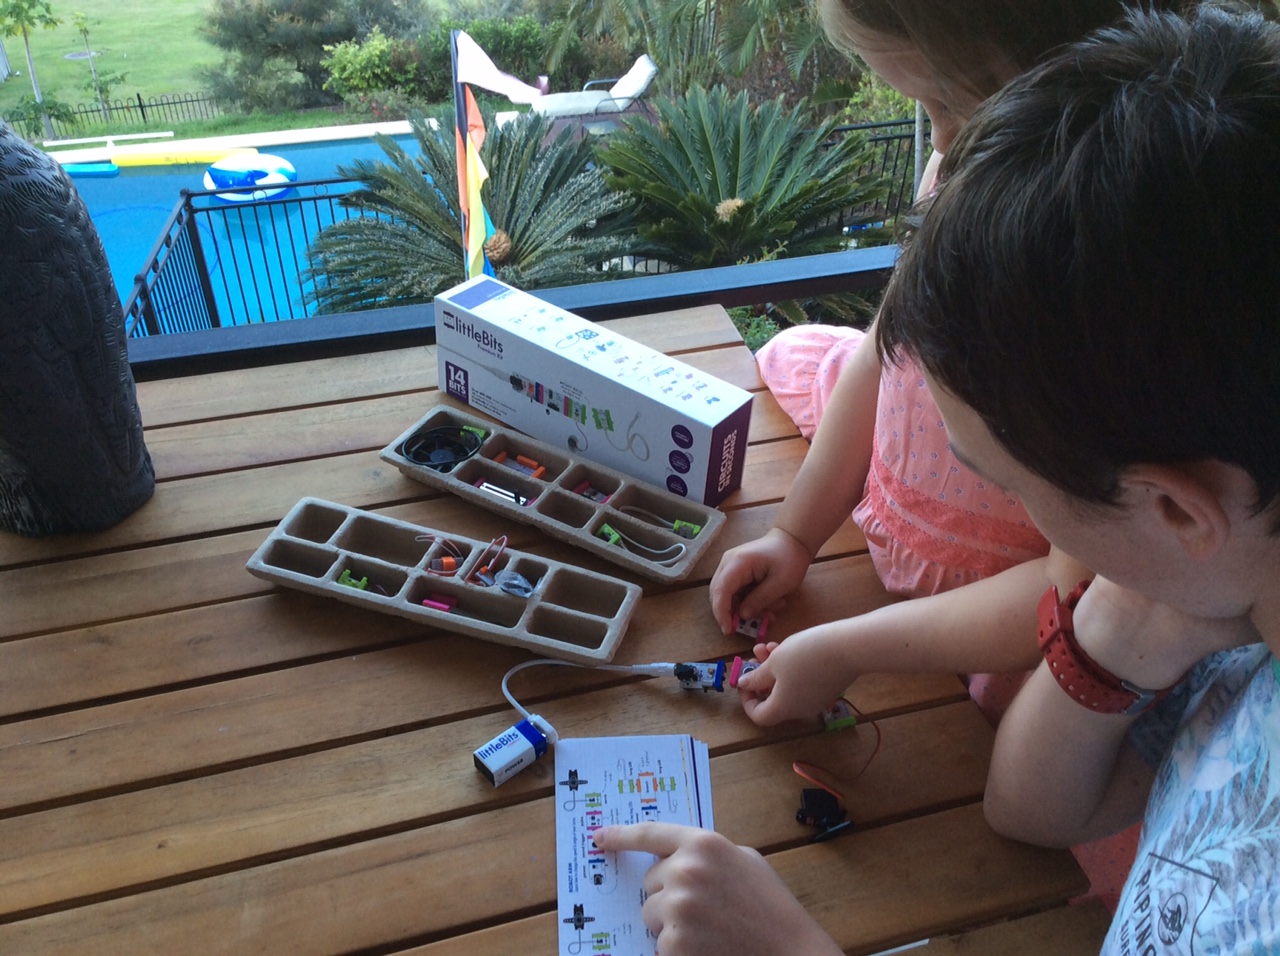
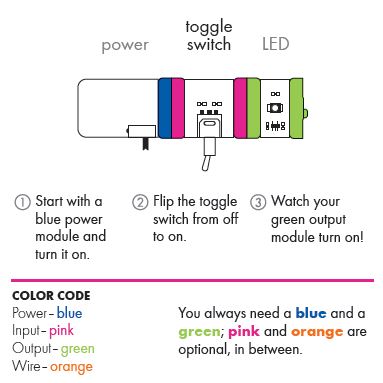
The workshop was OK but it appeared that my son was the only child above the age of 10 (my 8yr daughter could not attend because she was sick). Oh well, we still had fun and I enjoyed helping an 8 year old girl make a parallel circuit with 2 LEDs. We left soon after the circuit introduction since my kids already learned about circuits previously. He did learn some nice pneumatic and hydraulic movement tricks using 2 syringes connected with a tube.

pneumatic movement to make the puppets mouth open & close

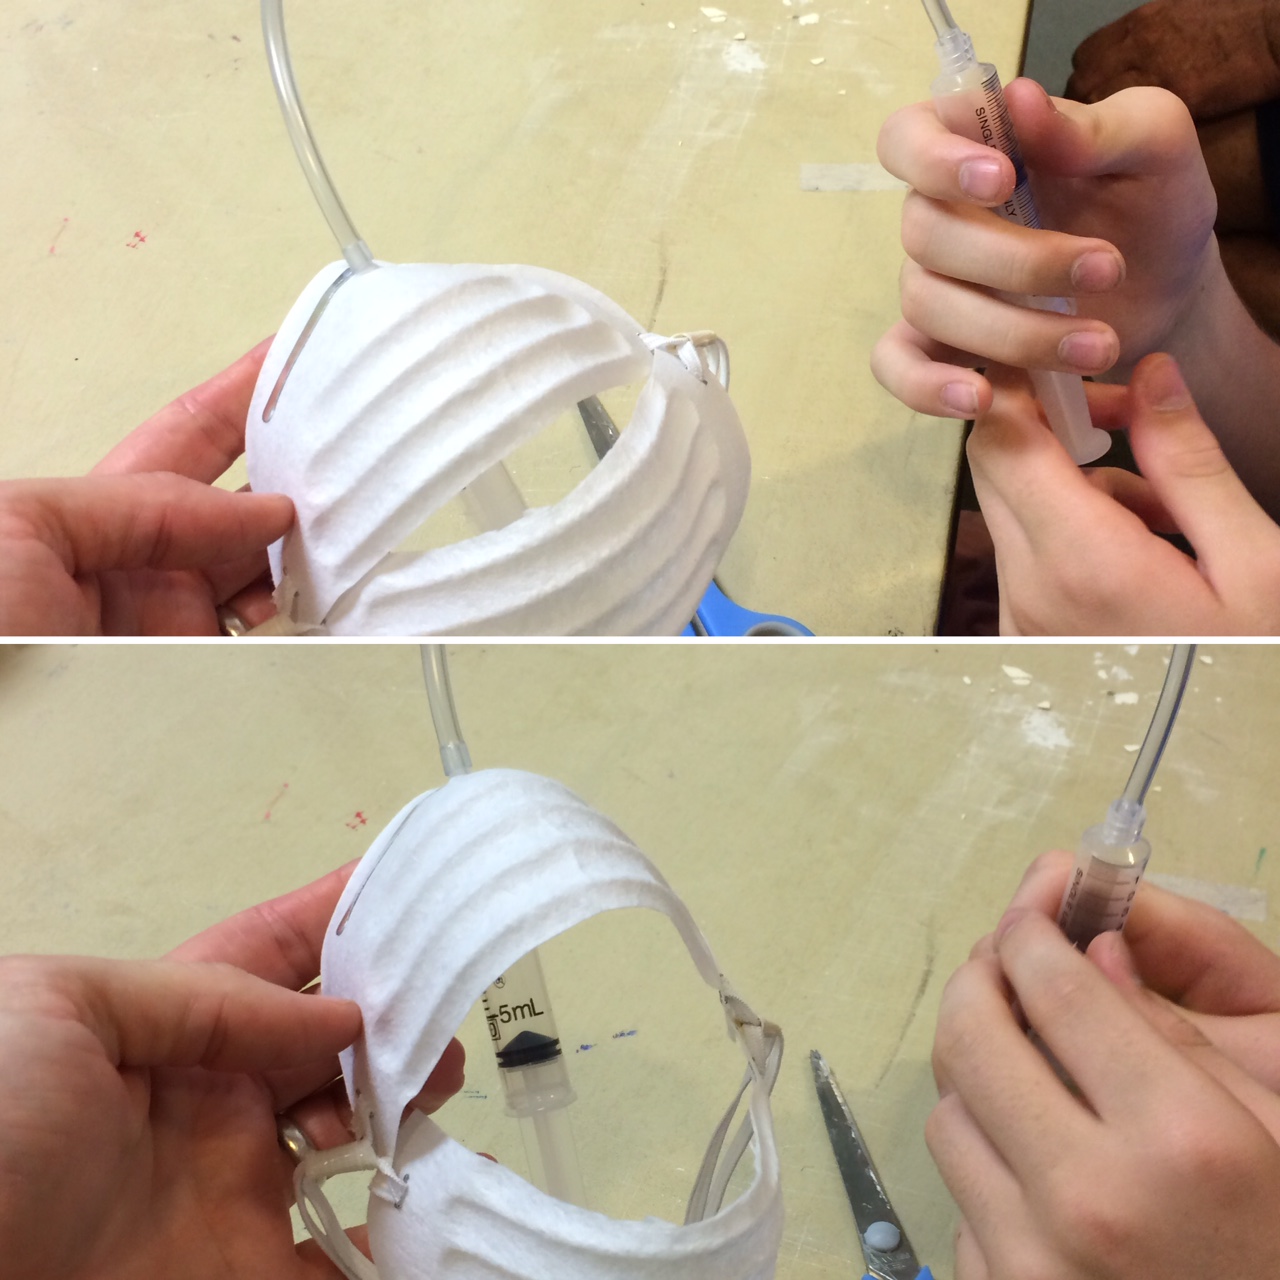
pneumatic (air) machine to make the puppet’s mouth open & close

My son thought the use of pneumatics for movement was pretty cool. If we have time during these school holidays, we might give a couple of these hydraulic machines a go next: http://www.instructables.com/id/Easy-Hydraulic-Machines/ 

Makey Makey

Day 1 of the school Easter holidays and I kept the kids busy with my new Makey Makey!  I have briefly used Makey Makey before and now I finally got around to purchasing one for the family (& work).

FullSizeRender

Playing an online game. My son is controlling the arrow keys with play doh and my daughter controls the space-bar by hitting the banana!

My Makey Makey kit.

My Makey Makey kit.

Makey Makey lets you easily turn many things into a touchpad for your computer. One side of the Makey Makey (as shown in photo above) is really easy to use. Plug the device into a laptop and it works automatically; nothing to download! Attach alligator clips to the cross to link to your arrow-keys and the 2 circles link to the space-bar & click. Then surf the web to find simple games to play using your new touchpad. My kids played online PacMan, Tetris, piano keyboards and other random games that include arrow-keys and space-bar actions. It was fun!

The other side of the Makey Makey allows for a larger range of options and you can use it as an Arduino.  Makey Makey runs on top of Arduino but the beauty of Makey Makey is that you don’t need to do any code and you don’t need to understand Arduino. I think it is an excellent way to introduce the idea of Arduino to kids.

IMG_2560

Playing a game with a fighting pig!

IMG_2565

Playing the basic Makey Makey piano

It wasn’t long before they started to think of more ideas and we also looked at many Makey Makey projects on YouTube. Let’s make a foot piano!  🙂

IMG_2574

Keeping busy setting up the foot piano.

IMG_2594

Their foot piano; it worked. Easy!

Dad even had a go with the Makey Makey piano.

UPDATE: Next day – my 12yr son decided to use the Makey Makey & play-doh to play Minecraft. The other players on the server can’t believe it!

Building a house with circuits & LittleBits

It’s school holidays and my 8 year old wanted to build a Gingerbread-style house. She carried all of her arts & crafts supplies to the kitchen and asked me to help her make it. We made the house out of cardboard. I helped her measure & cut-out the walls and then she added colour.

The structure of the house was stabilised with support beams across the walls & roof

Structure of house was stabilised with support beams across the walls & roof

Since it was quite large the walls fell-in a bit and the roof line was not stable. We sat there talking about how we might stabilise the house and we added beams across the walls and the roof line. We also decided to not stick the roof on because we wanted easy access to the inside of the house. When you look through the door you can see my daughter’s drawing of Santa.

Santa is in the house; Xmas tree in the back right & girl sleeping on left

Santa is in the house; Xmas tree in the back right & girl sleeping on left

My daughter was very happy with her house but I encouraged her to add lights!  🙂  First we had to learn about simple circuits, parallel circuits and how to connect LEDs.

8 year old daughter created her first simple circuit using conductive tape, battery & LED

8 year old daughter created her first simple circuit using conductive tape, battery & LED

Once she understood how the circuits worked we added 2 parallel circuits to her house. The parallel circuit on the left-side seemed really weak after a few lights were added. But the parallel circuit we added on the right-side went up along the house and across the front of the house (on the inside). This allowed us to add some lights on the front of the house. My daughter loved testing the LEDs first and she found that the white & blue ones were the weakest, so we avoided using them.

Parallel circuit running over the wall & on the inside

Parallel circuit running over the wall & on the inside

Ta da! Looks great in the evening

Ta da! Looks great in the evening

Ah but that’s not all! My daughter also loves using LittleBits and so we decided to add a touch sensor on the side of the house. When you touch the touch sensor Santa vibrates and lights turn on around him. She LOVES her house! But after we were done she said it would be better if we made Santa’s legs vibrate out of the chimney on the roof.

Santa IMG_0600 IMG_0593 IMG_0592

littleBits fun & learning

Step 1: building electronic circuits straight out of the box

Step 1: building electronic circuits straight out of the box

My first littleBits kit arrived on Friday; I purchased the Premium kit. My kids excitedly opened the box and started connecting the different bits together to create different circuits. It was so much fun to watch my kids (7 & 12) discover this new toy. I helped explain a few things but mostly the kids learned how each bit worked on their own through experimenting. My Year 7 class will be ‘playing around’ with this littleBits kit this week and I hope to see some awesome creations.

Making circuits that do something; lights & vibrator

Making circuits that do something; lights & vibrator

It was a lot of fun making a Bubble Flute with littleBits

It was a lot of fun making a Bubble Flute with littleBits; dog liked it too!

How littleBits work

Each bit is colour-coded and are easily snapped together by magnets. You can’t put them together the wrong way because of the magnets! 🙂  Each bit has its own function, such as lights, sounds and sensors. You will always need a blue and green bit in every circuit that you build. The instructions in the kit are straight forward and easy to understand for young children.

BLUE bits are POWER – you need this in every circuit

PINK bits are INPUT – you use these bits to add control to your circuits and send signals to the following bits

GREEN bits are OUTPUT – these are the fun bits, they do something

ORANGE bits are WIRE – you use these bits to expand your circuits

ToggleSwitch


Resources & ideas for educators 

littleBits Educator’s Guide 

littleBits Lessons uploaded and shared by educators

I’d like to purchase these kits next: Synth Kit and Arduino Coding Kit. There are a variety of kits available & you can buy individual bits too. They are expensive in Australia though!

Hack my house activity – I saw something similar, but on a larger scale, using littleBits at a local High School. The students were learning about urbanisation and created suburban or city areas using littleBits and craft supplies.

This was a fun project, although it was a bit awkward to use & hold once it was completed.

This was a fun project, although it was a bit awkward to use & hold once it was completed.